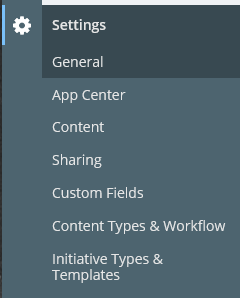
- From the left navigation menu select Initiative Types & Templates.
- Select Add Initiative Type from the top right of the Initiative Type screen.
- Enter a name for the initiative type and select an icon to display.
- Use the Allowed Creators dropdown to select what permissions to allow based on role, group, or member. Click the X to the right of the name to remove it from the listing.
- Use the Custom Field dropdown menu to add the custom fields that will be used by initiatives created using this initiative type. The custom fields list is populated from the listing of available custom fields in the instance. You can add one or more custom fields to an initiative template. Click the X to the right of the name to remove it from the listing.
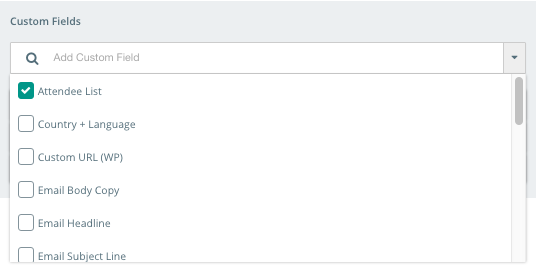

- Reorder custom fields by dragging and dropping them into the desired order.
Use the New task button to add tasks to the initiative workflow.

If you change the order of the custom fields or add custom fields to the initiative types, all associated initiatives will be impacted.
Select the show on calendar option to display any initiatives with this initiative type on the calendar, if desired. Note that if this option is not selected initiatives with this initiative type will be hidden from the initiative filter dropdown on the calendar.
Enter a task name. If appropriate add a task owner. Owners specified here will be automatically assigned to this task when this initiative type is created. Adding a task owner or deadline is not required.
The following date options exist for smart deadlines:
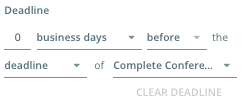
- Specify the number of hours or business days
- Specify before or after criteria
- Specify deadline when using the before criteria
- Specify deadline or completion when using the after criteria
- Specify the task name criteria for the deadline or completion criteria
Drag and drop tasks into desired order.